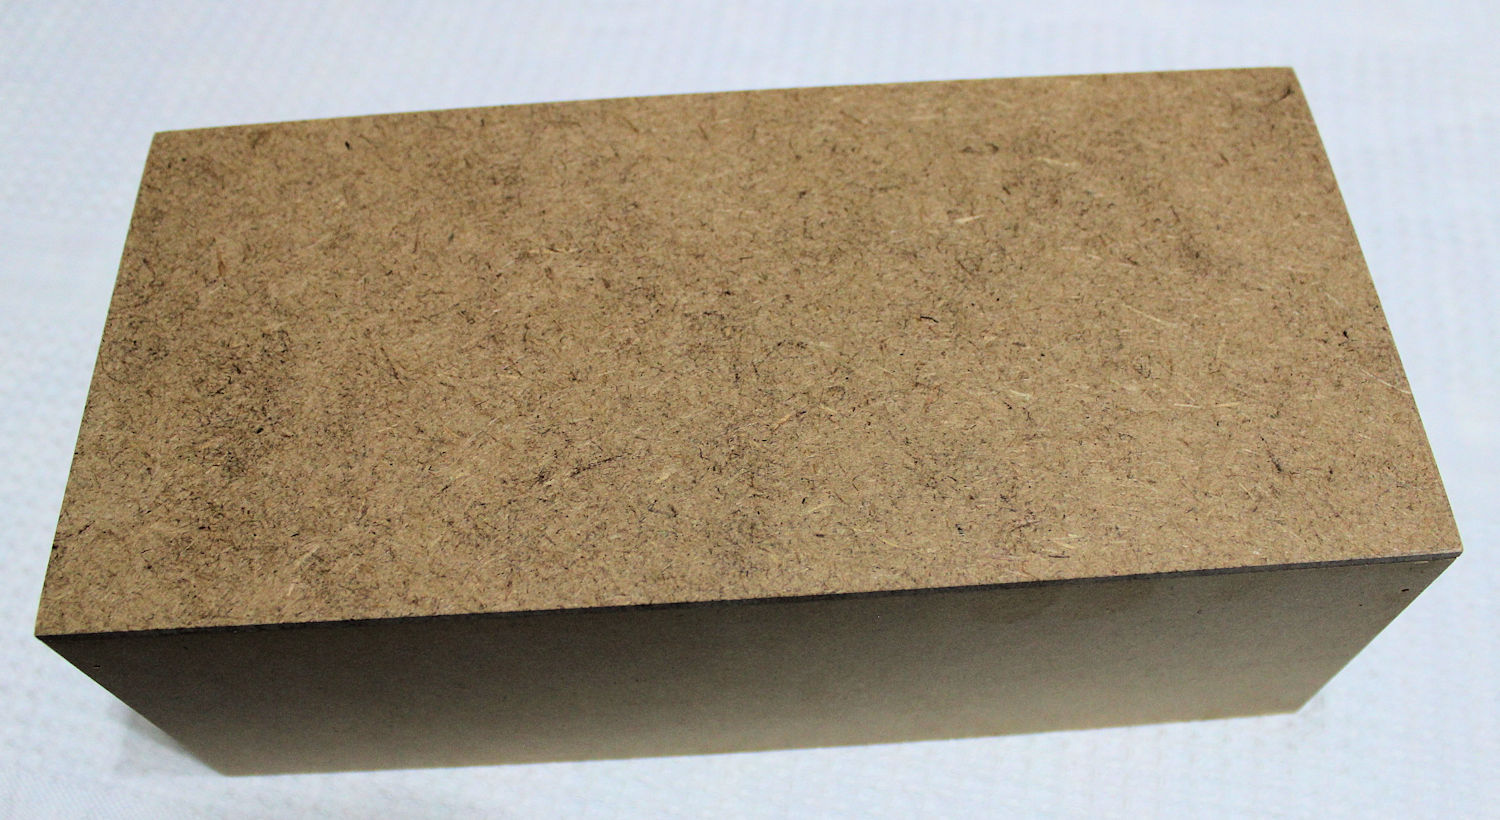
Yesterday hubby and I made the box seat from scraps of MDF. 9mm thick for each end, 6mm for front and back, 4mm for the top.

Length 26cm, depth 12cm, height 9cm. Scrap quad glued into each corner gives it strength and keeps it nicely squared.

It was glued and nailed with tiny brads, then left overnight.

Today I made the loose cover from a fat quarter of fabric. I simply laid the box on top of the fabric, trimmed it to size and cut a square out of each corner.

Corners were then pinned, tacked and fitted. Fortunately there were no adjustments to be made.

Then each corner was sewn and overlocked.

I turned the cover right side out, slipped it over the box, folded up the fabric so it was flush with the bottom of the box, then pinned and stitched the hem . . . finished!.

I had been debating about stapling the cover on, but making a loose cover leaves the option of changing it when ever the need arises and without too much trouble.

Here's the finished 3D set, complete with my Iplehouse KID modelling a newly knitted dress.

I had been debating about stapling the cover on, but making a loose cover leaves the option of changing it when ever the need arises and without too much trouble.

Here's the finished 3D set, complete with my Iplehouse KID modelling a newly knitted dress.
Hope you are all having productive weekends too!
It looks great! I can see why you made it out of MDF. The one I'm thinking of making are for the 1/6 Fashion dolls so they are a lot lighter so I could probably get away with using Balsa wood as they don't weigh anything at all! Another great thing I am finding with those types of dolls.
ReplyDeleteThanks for sharing your process with us. It does help a lot.
Thanks Alasse. It's quite an easy project, so I can see no reason for you not to make one in lighter wood for your fashion dolls and they don't take up a lot of storage like a full diorama for a larger doll.
DeleteHey you're welcome.
Big hugs,
X
This Looks so cute!! And I think it is a good idea not to staple the fabric - like this you always have the Option to change the covers...
ReplyDeleteThanks Rachel. I think so too, I already have ideas for a change to the "room". :)
DeleteHugs,
X
Hello Sandy,
ReplyDeleteGreat job on the window seat. I like the fabric you used.
Big hug
Giac
Thank you so much Giac. I thought it went pretty well with the curtains. :)
DeleteHugs,X
Super project, great performance.
ReplyDeleteLovely dress.
Thank you, I'm pleased you liked it. :)
DeleteHugs,
X
WOW that is really great Sandi, you've done a super job of the whole scene. Can you come and make one for me now please? ;)
ReplyDeleteThe dress looks very nice too I have to add!
Hugs xxx
Thanks Sharon, you know I would love to . . . if only we lived closer. :) However, I think this is one project you could easily make yourself.
DeleteActually this dress turned out better than I expected, since I didn't have a pattern and made it up as I went along.
Hugs,
X
I would love to join your Iplehouse KID (wonderful dress!) and enjoy the view, it looks so real!
ReplyDeleteHugs!
Thank you so much Niina, I only wish you could. :)
DeleteHugs,
X
Hi Sandi,
ReplyDeleteYou've made a fantastic job, it looks great.
Greetings ^^
Thanks Lily, I had fun doing this one and that's why I am thinking of doing more . . . I just never have enough time. :)
DeleteHugs,
X