
It was during this time I noticed my knitting needle roll needed some attention. There were more knitting needles and very little space in some sections of the roll to fit them. So it was time to make another and here it is, my own guide to making one. (Left click on photos to see more details).
REQUIREMENTS:
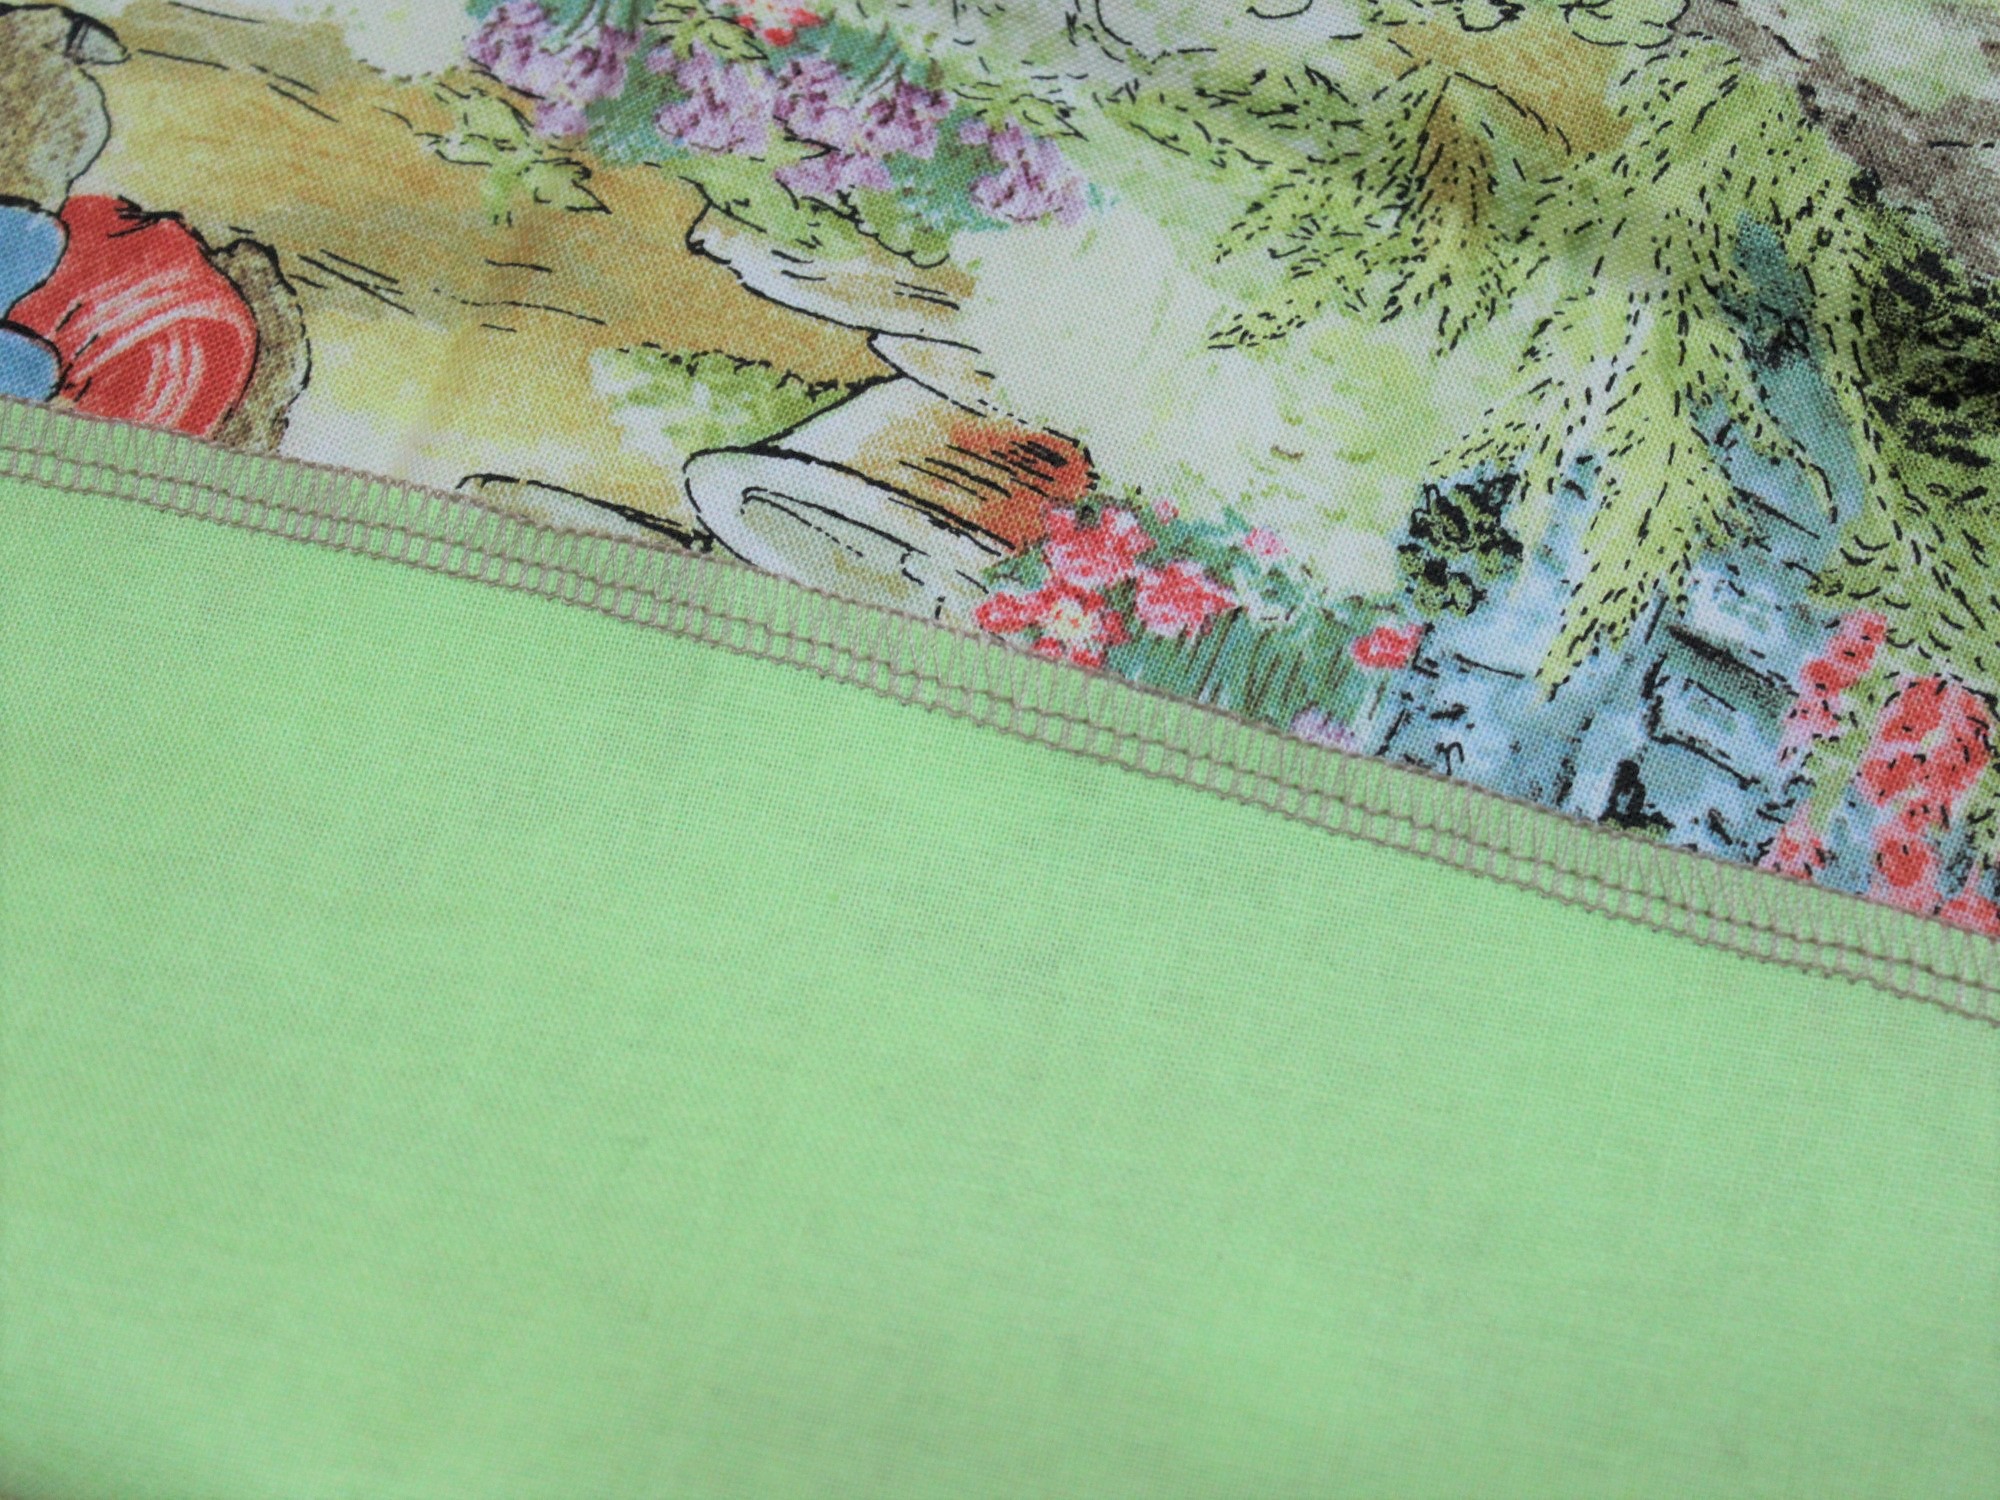
2 x 64cm pieces of 112cm wide fabric. (1 pce plain for inner, 1 pce print for outer.)
2mtrs of 25mm wide satin ribbon.
Ruler and a washout fabric marker pen or pencil.
A permanent fine marker pen.
Matching thread for sewing.
Sewing machine and overlocker (serger).
Iron and ironing board.

Step 1: Place the two pieces of fabric on top of each other and use your sewing machine to sew along the top and bottom. I used my overlocker (serger), but if you don't have one, use your machine's zig zag or button hole stitch to sew along the edge.
Step 2: Fold the two shorter selvedge ends over 2cm and press flat, then stitch down.

Step 3: Fold the bottom long edge over 2cm and press flat, then stitch down. Do the same with the top edge.

Step 4: Fold the top long edge over 7cm, then press flat before stitching the sides to form a pouch.

Step 5: Fold the bottom long edge over 13cm, then press flat before stitching the sides as you did in step 4. (Finished height should measure 40cm).

Step 6: Cut 35cm of ribbon and place on the left hand side half way between the top and bottom fold overs, using the remainder of the ribbon place it across the fabric, so that the extra length extends in the same direction as the shorter piece.


Step 7: Stitch both sides, so the ribbons are held in place.

Step 8: Rule lines with your washout pen, from the ribbon down to the bottom, after making sure there is enough space to hold each group of needles. (i.e. if you have several sets of a particular size in different lengths, or wish to include a crochet hook of the same size, do a dry run to check the amount of space needed for each size).
Step 9: Stitch along each ruled line creating an individual pouch for each group of needles.

Step 10: Using the permanent fine marker pen, mark each pouch with the size of the needle. (i.e. I have marked mine with both the mm size and a corresponding UK size using the conversion chart below).

The finished size of your roll should hold a good amount of needles, mine range from 1.25mm through to 7.5mm, some of which have different lengths or four double ended needles in each group. When all your needles are in place, simply fold the top flap down, roll it up, tie the ribbon around it and finish with a bow.

That's all folks! Until next time, stay safe and keep smiling!

Great idea and perfect execution :)! The roll looks cute and will keep all the needles in order :).
ReplyDeleteIt's winter in Australia, but here for a few last deys is scorching hot... I hope we will be back to more gentle summer in next week, because now I can hardly do anything. Hugs, hugs!
Thank you Chiriann, it sure will. :)
DeleteI love the heat and would much prefer to be feeling your scorchers than our winter blasts.
Big hugs,
X
Thank you for the knitting needle roll pattern! I have one pre-purchased roll, but it's not working for me as well as I would like, plus I do need another roll.
ReplyDeleteHey you are welcome Barb. It's unfortunate that the purchased ones are usually made to suit several single pairs of needles and who do you know that knits only has one pair of a certain size.
DeleteIn some sizes I have a long pair, a short pair, a set of four double enders and a circular needle. This way you can make the individual pouches as wide or narrow as suits your own requirements. Let me know if you have any questions.
Big hugs,
X
This is different to your usual content, but I don't mind it. This is such a great idea. I don't knit, but this can be adapted to be a paint brush roll. Many people use something similar store their brushes, either made out of fabric or bamboo. I like the fabric you chose, it's very cute.
ReplyDeleteThe winter where you live sounds very cold, but I'm glad to hear that you're keeping yourself busy knitting and sewing.
Sometimes it makes one feel reinvigorated to post something different. I often get bored with a subject if I write about it too much. Yes, though my paint brushes are in a tin, but I have also seen similar rolls for jewellry as well.
DeleteThank you MC.
Big hugs,
X
Very pretty beanies, and knitted so skillfully! But with the heat we get at the moment, I'd rather need a straw hat.
ReplyDeleteKeep away from winter blues! The days will get longer again...
Thank you Uschi, it's a pretty basic pattern which I simply adapt using different stitches, but it keeps me busy.
DeleteBig hugs,
X
Love your beanie hats, always a great way to use up some balls of yarn.
ReplyDeleteThe fabric for your needle roll is lovely and thanks for sharing the details on how to make one.
I had never have thought to make sections for multi pairs of the same sized needles. I must add this to my to make list
hugs x
Thanks Dee, I always seem to have odd balls of yarn left over from different projects and aside from doll clothes there's not a lot of things I can use them on.
DeleteI love Beatrix Potter prints almost as much as you love William Morris'. 😁 You're most welcome, the multi sections make it easy for me, though they may not suit everyone.
Big hugs,
X
Hello! This is a great thing! I have seen similar things for pens and brushes. I have a plastic small and long round container in mild green colour where I keep my needles in.
ReplyDeleteThose beanies look warm! Good for cold days. I am sweating here and we have had thunder storms lately after the heat waves. Our fan has been working overtime.
Have a happy new week! Hugs!
Hi Niina! Thank you, the rolls can be used for storing a variety of things. Havng a roll makes it easy for me to find a particular size, and it fits nicely in my knitting bag.
DeleteOh they are, which is great as I hate having cold ears. Though I would much prefer your heat any day. 😊
You too, big hugs,
X
It's so funny to think about winter... but of course - different climate zones. I hope you defeated the blues with this wonderful needle bag. I love the fabric you chose.
ReplyDeleteYes and it seems most of my readers are being subjected to very warm sunny days ... I am so envious. 😒 Me too Mia, it's very bright and cheerful, and let's face it what's not to like about Peter Rabbit??
DeleteBig hugs,
X
Hey you are welcome Linda. Way, way back when I first started knitting I found I would often make the mistake of purchasing the same size knittiing needles twice, because they weren't all together in the same place. Having a needle roll has helped me a lot, but my old one didn't have as many pouches and I had more needles than space to put them. This one has turned out great and I have even a space for my needle guage and tape measure now.
ReplyDeleteDon't forget to share pictures of yours when you've made it.
Big hugs,
X
The roll is perfect, thank you for sharing the whole tutorial. I think maybe I will try to make something similar for my color pencils. ;)
ReplyDeleteWe have summer where I live and I'm suffering because of the heat...