Use the Search box below to find keywords that you're looking for quickly and easily!

Showing posts with label Project. Show all posts

Tuesday

Project: A Touch of Dark Academia

Last Christmas my hubby bought me a doll house, and while it's been sitting in my doll room gathering dust, I have been hatching a plan. I want to turn this house into a derelict house, one that was once owned by a man of magical talent . . . a man of interlect, who might have been a master of chemisty, a wizard, a sorcerer, a scribe or to put it simply . . . a combination of them all.

It will take me forever to finish it, but I am determined I shall!

After all the sewing I needed a change, and so for the past few days I have been creating some pieces of furniture for one of the rooms. Non is complete yet, but I wanted you to see where I was heading.


The eyeballs you can see in the left hand dressed (pink jar) are from some inexpensive dolls who's eyes I replaced with better ones. I experimented to add webs and this was done by using my glue gun, some tiny stretched bits of cotton ball and green flocking. The jars are filled with herbs, spices and metallic flakes. 

I made the birdcage hanger from three stacked washers for the base, a small piece of dowell, a paperclip and some jute string. The bookholder is made from card, dowell and washers. Both are decorated with sculls, doll hands and more green flocking. To make the candle holders I used the brass backing plates from small door knobs and plastic noteboard tacks which I painted gold to match the brass . . . the candles are birthday candles which I cut to size.

The other pieces are from my 1:12 scale stash. I am currently working on a Grimoire for the stand and some other books for the dressers. I could have purchased some but that wouldn't be as much fun would it?

Thursday

Project: Last of the Gnomes

I've finally finished all my gnomes and now I'm going to take a long break from blogging (probably three months), so I'm using this opportunity to wish you all a

  Very Merry Christmas & Happy New Year.


The Wizz


Honey Bee


Woodland Gnomes


Snowman & Santa


Monday

Project: Christmas Gifts

I had so much fun making the first two little gnomes, I decided to make some for friends and I'm not finished yet. However, I thought I'd share the first three couples to see if I can inspire some of you to take out your needles and thread.


These were inspired by the gingerbread man (you may remember this little guy). Using tee shirt fabric for the nose means you can stuff it as full as you'd like, and in this case I wanted my boy gnome to have a huge nose.


These two forest gnomes feel the cold, so they are wearing mittens. I used the initial arm pattern to draw the shape and added 5mm to the seam so the mittens would slip over the finished arm. Then I stitched them on using a running stitch (tacking stitch) pulling it up tightly to give it a slight gathered look.

For the first two gnomes and this little guy's moustache I used wool roving and for this girl's plaits I used yarn.


This time I added stripes to the hats and stitched them in place using blanket stitch (same as buttonhole stitch). Once again using the wool roving for whiskers and plaits, as well as giving them mittens to wear.

I'm going to make a few more, but I think I may try adjusting the hat pattern to give them a slightly different look. I may even make a couple with dangly legs as I think these are a great way to use up more of my stash. 

If you need me to answer any questions, just give me an "ahoy" in the message box.


Project: Mr & Mrs Gnome


I made these over he weekend, they are so easy and great fun to make. You can decorate them in any way you wish ~ you could even make a Halloween Witch, a Santa Clause using this pattern.

Requirements:
1. Felt for body, arms (skin tone or tan as I have used), hat (your choice of colour)
2. Stretch fabric for nose (I only had pink so mine have rosy noses)
3. Yarn for beard and hair (or fur fabric)
4. Extra felt for clothes 
5. Glass sand (or you could substitute rice to add weight) and polyester filling 
6. Scissors & haemostats for turning arms in the right way
7. Extra strong threads and a set of doll needles
8. Trimmings i.e. buckle, buttons & ribbon
9. Tacky glue or hot glue gun and glue sticks


Click on pattern and save to your computer, print at 100% on A4 size paper. I always trace my pattern pieces onto quilter's plastic template, but you could use card or paper, whichever works best for you. A 3mm seam allowance is included.

Step 1: Cut out your felt and fabric pieces.


Step 2: Stitch the body back seam, arm pieces and back seam of the hat together using a small back stitch, leaving an opening on the arms large enough that you can turn them right side out.


Step 3: Close bottom by stitching all the way around, easing the two pieces together as you stitch, then turn your hat, body and arms right side out. You will need the haemostats to turn the arms out and to push the hat to a point.


Step 4: Next take your glass sand and fill in the bottom of your gnome. This will give your gnome the weight to make sure it stands up nicely. I put in approximately 250 grams before continuing to fill with polyester stuffing. Try not to overstuff him/her, just fill enough so you have a nice firm body on which to place your hat.


Step 5: Use a running stitch to gather the edge of the nose piece and pull it up slightly. Place stuffing in the middle and pull the gathering up tight so as to form a smooth round nose, then run a few stitches back and forth so it doesn't come undone. (I simply shaped their noses using the stuffing.)

Step 6: Add your beard to the boy gnome and make plaits for the girl. I used yarn separating the ply for the beard, but you could use fur fabric for his beard if you prefer. For the plaits I just used the yarn as it was. Position them on your gnomes so you are happy with the way they look. Then either stitch or glue in place to secure them.

Step 7: Stitch or glue the soft round nose in the centre of the beard, making sure you cover any stitches. (You may notice by this time I had forgotten to photograph what I was doing.)

Step 8: Use your imagination to trim you gnome's body. For my boy gnome, I cut a long strip of matching felt and added a small buckle to make his belt. For my girl gnome I used the felt to make a collar and added a couple of buttons and a ribbon bow.

Step 9: To attach the arms, thread your longest doll needle with enough strong thread that you can double it and run it through the body and back a few times, knot the ends together. Begin by running the needle through the inner side of the first arm, going back through the arm and right through the body to come out the other side, then through the second arm. Run the needle back again till it comes out of arm 1, then back again through arm 2, then come out at the back under where the hat will sit and do a couple of stitches to secure it, then cut the thread.

Step 10: Now attach your gnome’s hat placing it as close to the gnomes nose as possible, then stitch or glue  it in place. You may need to fiddle with the hat a bit until you get a look you like.

Of course you could simply reduce the size of all these items and make dolly props if you want to. Try it, it could be fun!


Sunday

Something Different

Well I haven't really been in the mood for dolls this past week or so, you could say I have been suffering from the winter blues. As usual for this time of year, I have been hibernating in front of the fire, knitting. Not for my dolls though, this time I made myself some beanies to keep my ears warm when hubby and I walk our dog. This I found, was a good item on which to use up some of my left over yarns.


It was during this time I noticed my knitting needle roll needed some attention. There were more knitting needles and very little space in some sections of the roll to fit them. So it was time to make another and here it is, my own guide to making one. (Left click on photos to see more details).

REQUIREMENTS:
2 x 64cm pieces of 112cm wide fabric. (1 pce plain for inner, 1 pce print for outer.)
2mtrs of 25mm wide satin ribbon.
Ruler and a washout fabric marker pen or pencil.
A permanent fine marker pen.
Matching thread for sewing.
Sewing machine and overlocker (serger).
Iron and ironing board.


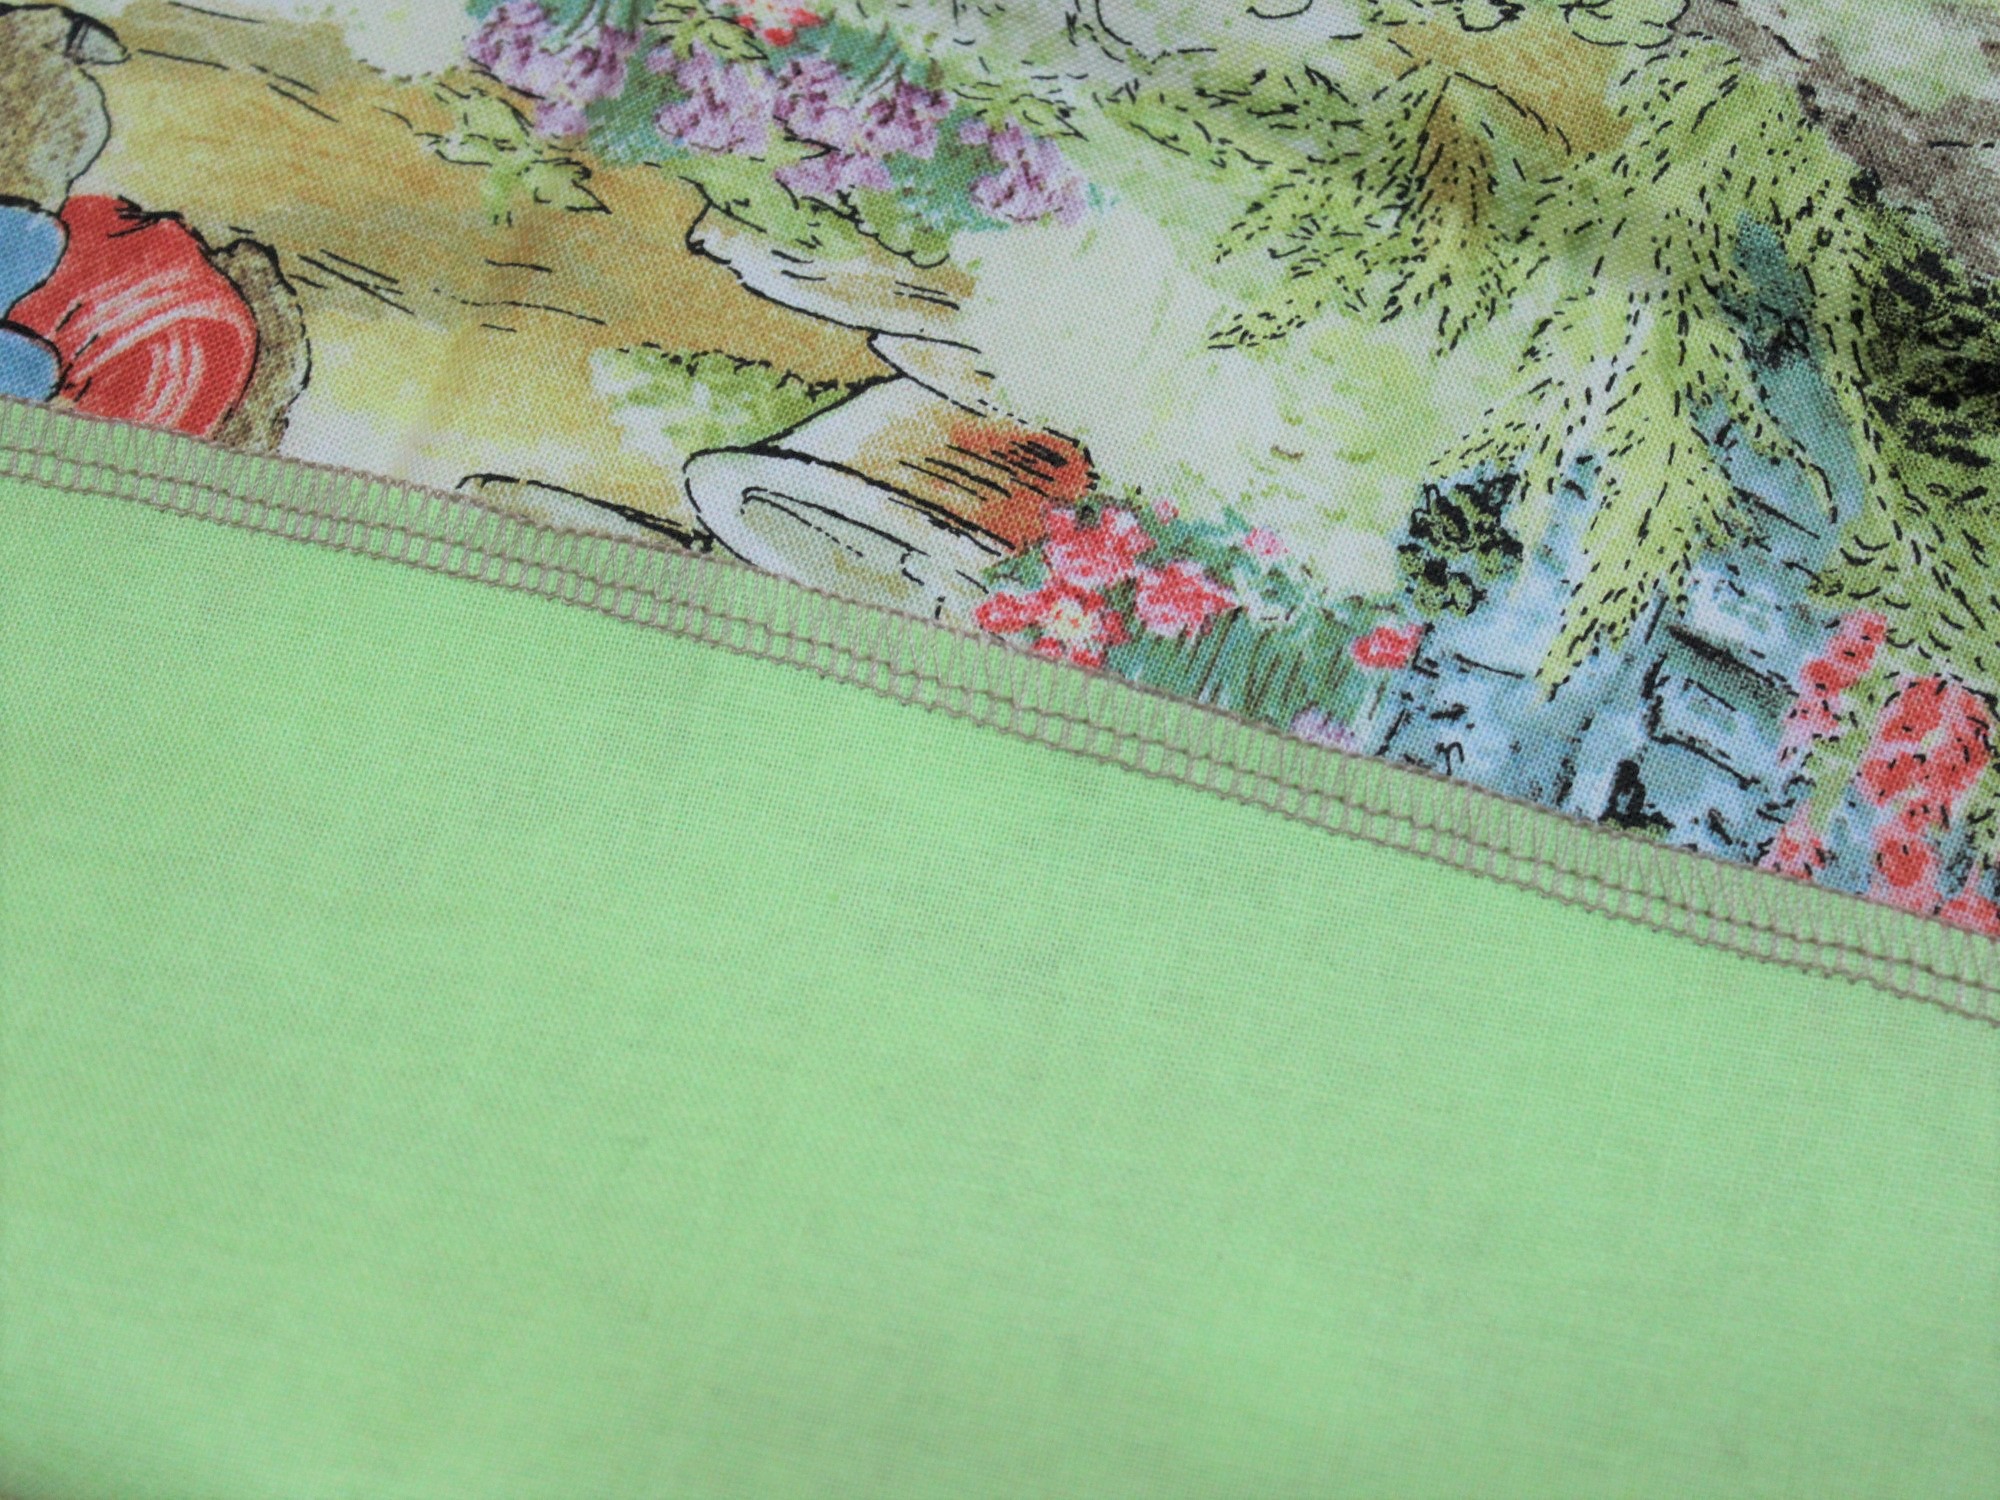
Step 1: Place the two pieces of fabric on top of each other and use your sewing machine to sew along the top and bottom. I used my overlocker (serger), but if you don't have one, use your machine's zig zag or button hole stitch to sew along the edge.


Step 2: Fold the two shorter selvedge ends over 2cm and press flat, then stitch down.


Step 3: Fold the bottom long edge over 2cm and press flat, then stitch down. Do the same with the top edge.


Step 4: Fold the top long edge over 7cm, then press flat before stitching the sides to form a pouch.


Step 5: Fold the bottom long edge over 13cm, then press flat before stitching the sides as you did in step 4. (Finished height should measure 40cm).


Step 6: Cut 35cm of ribbon and place on the left hand side half way between the top and bottom fold overs, using the remainder of the ribbon place it across the fabric, so that the extra length extends in the same direction as the shorter piece.


Step 7: Stitch both sides, so the ribbons are held in place.


Step 8: Rule lines with your washout pen, from the ribbon down to the bottom, after making sure there is enough space to hold each group of needles. (i.e. if you have several sets of a particular size in different lengths, or wish to include a crochet hook of the same size, do a dry run to check the amount of space needed for each size).

Step 9: Stitch along each ruled line creating an individual pouch for each group of needles.


Step 10: Using the permanent fine marker pen, mark each pouch with the size of the needle. (i.e. I have marked mine with both the mm size and a corresponding UK size using the conversion chart below).


The finished size of your roll should hold a good amount of needles, mine range from 1.25mm through to 7.5mm, some of which have different lengths or four double ended needles in each group. When all your needles are in place, simply fold the top flap down, roll it up, tie the ribbon around it and finish with a bow.


That's all folks! Until next time, stay safe and keep smiling!


Saturday

Project: Knitting Continued

After checking the pattern I wrote and posted a few days ago, and prior to my computer chucking the claw in, I realised had made a mistake when typing it ~ where it read Row 14-28, it should read Row 17-28, so you can either change your copy or download the new one which I have edited.

Thankfully, I noticed it when I began knitting it again, this time as a jumper (sweater) which buttons at the back. If you would like to do this, make additional button holes at the end of R15, 27 and 39.

We also have new models to show how they fit my  Corolle Les Cheries and Wellie Wishers dolls.


I'm sorry about the quality of the photos, but my photo editing program went west along with a few other bits and pieces which I had forgotten to save to my hard drive. Unfortunately neither I, nor my tech guys were able to retrieve them.


Willa is wearing the second pink cardi where I added the three extra button holes so she could wear it as a jumper (sweater). As you can see, I also made her a matching skirt using a combination of the Naturally Loyal Baby Print at the bottom and a matching plain pink 4ply from the hip up to the waist.

I use slightly larger needles when I made the skirt, but I think next time I will increase the stitches slightly and revert back to the 2.25mm needles, as the finished garments look much nicer and the stitches more even. Once I have done that, I'll share the pattern.

Well that's it for today my lovelies, I hope you are all having a lovely weekend, I'll be back again later in the week.


Sunday

Project: Doll Knitting

After receiving my recent play doll (Paola Reina Las Amigas Nora) who I have renamed Naomi, I set about removing the Velcro closure (my pet hate) on her dress and replacing it with press studs (snaps), then changing the over-sized yellow rose at the front to a more petite cream rose.


Next on my agenda was to make her a cardigan to wear for the cooler autumn days. I knitted Naomi's in a 4 ply synthetic yarn (a remnant, which I cannot remember the name of), but the other two were knitted in Naturally Loyal Baby Prints which gives a lovely fairisle look to the cardigan, without the complication of working with several yarns at the same time.


I really enjoyed making these garments and recorded exactly what I was doing as I progressed, so I could share the pattern with the knitters among you. If you click on the pattern below and open the link in a new window, you should be able to save it to your own computer, then print out later on an A4 page.

If there's anything you don't understand, please ask, and should you make this cardigan for your dolls, please share pictures on your own blogs, I would love to see them :)

Tuesday

Sidetracked by a Circus

Although I've still been working on the Tailor's shop in between all our Christmas preparations, I found myself a little stumped (forgive the pun) when it came to the interior walls of the tree, so I had finally reached a standstill. But as luck would have it, I did, after some searching, find just the right lining, but had to place an order and wait for the parcel to arrive after the holidays.

Not being one to simply sit and wait around twiddling my thumbs, thoughts crept into my head . . . one in particular stuck there. At first it was simply an idea, then I found a picture on the internet suitable for me to put the idea into practise. I downloaded it, cut it into three sections using photo editing and printed it out on A4 paper. Using a glue stick, I mounted each sheet on foam board and made matching paper hinges (using photo editing once again) to put it all together.


Of course a Circus isn't complete without a clown or trapeze artist, so I made new costumes for my PukiFees, Tika (tan) and Rin (white), which also created a gender change. 😏 Though I still need to finish Rin's hat and Tika still has his/her wolf fangs, but they are not really out of place in a Circus are they? After all they used to have bearded ladies and others with human oddities.


Speaking of oddities . . . these  body parts arrived yesterday, I intend on painting them and using the tiny mannequin in the Tailor's shop and the larger one in my Fleur and Mason boutique when I finally get round to putting it all together.


Looking at these photos now, I see I probably need new ink for my printer. So what's new about that? I always need something. Well that's about it for today, so once again . . .  HAPPY CHRISTMAS!

Friday

Project: The Tailor's Shop (Pt.4)

Well things haven't progressed very fast since I was distracted with my recent doll arrival. However, I did draft a list of what's needed.


I can tick two items which I purchased from Fairy Meadow Miniatures for the inside of the Tailor's Shop.


The dresser will be used to store bolts of fabric, the little hangers will eventually have clothes made to hang on them, the table will act as a cutting table and when I finally find the right size sewing machine (the one I purchased is a little small) the chair will sit at it. You may also notice the little clipboard on the table, that's for the Tailor to take down his client's details.

I haven't decided what colour to paint the furniture yet, so any suggestions you may have, will be noted and taken into consideration. :) And finally there is the sign to hang outside the shop . . . I thought this one was perfect.


Once I have finished painting these pieces, the fifth stage of my Tailor's Shop project will begin. The next step is very messy and I will need to wear gloves (which I must purchase today). I have this thing about sticky fingers, it's almost a phobia and besides who in their right mind wants to get PVA glue stuck to a very pretty nail job? :)

Well I have a busy weekend ahead of me, so until next time, have a wonderful weekend!

Project: The Tailor's Shop (Pt.3)

Yesterday, I purchased another couple rolls of alfoil, but only used one, as well as a large of packet of long glue sticks for the glue gun. After adding more alfoil to the sides and some roots at the bottom of the tree, I got stuck into covering the whole thing with masking tape. I used a full 50 meter roll and it took me about three hours to complete . . . this is what it looks like now.


It's almost cave like to look at, but there's still another rather messy stage to complete before I can begin painting.


I added one of these LED lights (above). These are fairly cheap and you can find them in Bunnings and on line. For those in the USA, Home Depot also carry something similar, but it's round. I simply glued it to the ceiling with the hot glue gun, but I did cut a hole so I have access to the battery.


You can see in this photos, just how bright the light is, and there's no wires to worry about. I'll be back when I've completed the next stage.


P.S. 16th Nov. This morning I noticed some of my masking tape had lifted, so I suggest, if you choose to do a similar project, you purchase a good quality masking tape ( Scotch, 3M, Gorilla or Duck) rather than a cheap one like I did from the Reject Shop . . . a lesson learnt today!