Use the Search box below to find keywords that you're looking for quickly and easily!

Showing posts with label Sewing. Show all posts

Wednesday

Overalls for Christmas

Katie now has a short-sleeved jumper (sweater), a pair of coruroy overalls and beautiful leather boots to match the colour of her glasses. 


Her jumper does up at the back with buttons and her overall has buttons over press studs, they are lined inside with the same fabric that I used to trim the pockets.


Now what to do with her hair? I will not cut her hair, but I would like to give her a new style of some sort which would suit her cheeky nature.

Thursday

Project: Last of the Gnomes

I've finally finished all my gnomes and now I'm going to take a long break from blogging (probably three months), so I'm using this opportunity to wish you all a

  Very Merry Christmas & Happy New Year.


The Wizz


Honey Bee


Woodland Gnomes


Snowman & Santa


Monday

Project: Christmas Gifts

I had so much fun making the first two little gnomes, I decided to make some for friends and I'm not finished yet. However, I thought I'd share the first three couples to see if I can inspire some of you to take out your needles and thread.


These were inspired by the gingerbread man (you may remember this little guy). Using tee shirt fabric for the nose means you can stuff it as full as you'd like, and in this case I wanted my boy gnome to have a huge nose.


These two forest gnomes feel the cold, so they are wearing mittens. I used the initial arm pattern to draw the shape and added 5mm to the seam so the mittens would slip over the finished arm. Then I stitched them on using a running stitch (tacking stitch) pulling it up tightly to give it a slight gathered look.

For the first two gnomes and this little guy's moustache I used wool roving and for this girl's plaits I used yarn.


This time I added stripes to the hats and stitched them in place using blanket stitch (same as buttonhole stitch). Once again using the wool roving for whiskers and plaits, as well as giving them mittens to wear.

I'm going to make a few more, but I think I may try adjusting the hat pattern to give them a slightly different look. I may even make a couple with dangly legs as I think these are a great way to use up more of my stash. 

If you need me to answer any questions, just give me an "ahoy" in the message box.


Project: Mr & Mrs Gnome


I made these over he weekend, they are so easy and great fun to make. You can decorate them in any way you wish ~ you could even make a Halloween Witch, a Santa Clause using this pattern.

Requirements:
1. Felt for body, arms (skin tone or tan as I have used), hat (your choice of colour)
2. Stretch fabric for nose (I only had pink so mine have rosy noses)
3. Yarn for beard and hair (or fur fabric)
4. Extra felt for clothes 
5. Glass sand (or you could substitute rice to add weight) and polyester filling 
6. Scissors & haemostats for turning arms in the right way
7. Extra strong threads and a set of doll needles
8. Trimmings i.e. buckle, buttons & ribbon
9. Tacky glue or hot glue gun and glue sticks


Click on pattern and save to your computer, print at 100% on A4 size paper. I always trace my pattern pieces onto quilter's plastic template, but you could use card or paper, whichever works best for you. A 3mm seam allowance is included.

Step 1: Cut out your felt and fabric pieces.


Step 2: Stitch the body back seam, arm pieces and back seam of the hat together using a small back stitch, leaving an opening on the arms large enough that you can turn them right side out.


Step 3: Close bottom by stitching all the way around, easing the two pieces together as you stitch, then turn your hat, body and arms right side out. You will need the haemostats to turn the arms out and to push the hat to a point.


Step 4: Next take your glass sand and fill in the bottom of your gnome. This will give your gnome the weight to make sure it stands up nicely. I put in approximately 250 grams before continuing to fill with polyester stuffing. Try not to overstuff him/her, just fill enough so you have a nice firm body on which to place your hat.


Step 5: Use a running stitch to gather the edge of the nose piece and pull it up slightly. Place stuffing in the middle and pull the gathering up tight so as to form a smooth round nose, then run a few stitches back and forth so it doesn't come undone. (I simply shaped their noses using the stuffing.)

Step 6: Add your beard to the boy gnome and make plaits for the girl. I used yarn separating the ply for the beard, but you could use fur fabric for his beard if you prefer. For the plaits I just used the yarn as it was. Position them on your gnomes so you are happy with the way they look. Then either stitch or glue in place to secure them.

Step 7: Stitch or glue the soft round nose in the centre of the beard, making sure you cover any stitches. (You may notice by this time I had forgotten to photograph what I was doing.)

Step 8: Use your imagination to trim you gnome's body. For my boy gnome, I cut a long strip of matching felt and added a small buckle to make his belt. For my girl gnome I used the felt to make a collar and added a couple of buttons and a ribbon bow.

Step 9: To attach the arms, thread your longest doll needle with enough strong thread that you can double it and run it through the body and back a few times, knot the ends together. Begin by running the needle through the inner side of the first arm, going back through the arm and right through the body to come out the other side, then through the second arm. Run the needle back again till it comes out of arm 1, then back again through arm 2, then come out at the back under where the hat will sit and do a couple of stitches to secure it, then cut the thread.

Step 10: Now attach your gnome’s hat placing it as close to the gnomes nose as possible, then stitch or glue  it in place. You may need to fiddle with the hat a bit until you get a look you like.

Of course you could simply reduce the size of all these items and make dolly props if you want to. Try it, it could be fun!


Tuesday

Four Little Dresses

I told you I had been hand sewing and the following two photos were taken before the dresses had their press studs sewn on. However, I wanted to see how they would fit different dolls before completing them.

The pattern I used is this one from La Boutique de Vaniline, but I lengthened the skirt and changed the neckline slightly on a couple of them. Her 32-33cm patterns are designed to fit Corolle Les Chéries, Dianna Effner Little Darlings, Sylvia Natterer Minouches, Paola Reina Las Amigas.

Here are the dresses are worn (L to R) by my Phyn & Aero Patience, Corolle Les Chéries, Tonner Betsy McCall and Paola Reina Las Amigas dolls. The dress is slightly big on Patience as her torso is thinner, but she can get away with it.

As I have quite a few different doll this size I wanted to be able to swap their clothes around when it came to dressing them, but still keep all the clothes together in one box. I have some clothes meant for this size doll that cannot be worn by them all, and that annoys me, so they will have to go.

Knitwear can also be switched, however, shoes can not. Just look at the difference in the size of the dolls feet, especially in the first photo. It's laughable! It really is such a shame doll makers don't make all dolls this size have the same size feet!

Here are the same dresses (L to R) on my Vestida de Azul Paulina, Minouche, Little Darling and IpleHouse KID Irene. If Paulina was going to wear this dress, I would need to make one just for her with only one centre set of buttons, as the front of her chest is wider. The fit on my KID is similar to Patience, so once again, she could get away with it.


Here are the completed dresses worn by the girls they were intended for. Lucy (Manica) in the white and Barbara in the dusty pink. I'm not sure about the bright pink buttons on Lucy's dress, I think I may change them to white and I'd prefer a more appropriate pink ribbon in her hair, similar to the pink braid on her dress.


And here we have Carolina and Nora in the more subtle vintage colours. I'm going to change the ribbon in Carolina's hair to a deeper and more olive ribbon and perhaps add matching green braid above the lace (if I can find some) as I have on Nora's dress . . . what do you think?

Well time has flown by and still without an end in sight to this current lockdown. I do hope those of you in the northern hemisphere are making the most of your sunshine and freedom.


FOR BARB: Here's a comparison between my Little Darling's foot and Tonner Betsy McCall's. As you can see Betsy's foot is just a fraction bigger, but I tried my LD's shoes on Betsy and they went on, but were a tight fit, so they wouldn't go on over socks or stockings.

Monday

A Website Worthy of Mention

I know some of my readers sew, knit and crochet quite well, while others would like to, but lack confidence. This led me to search the internet for some websites with clear, easy to follow free patterns which I could share links to.

Most are for 14" and 18" dolls, which by using your printer to reduce or enlarge the patterns, could be used for other sizes as well.

I found many websites which SELL patterns, but very few that provide FREE patterns. There were even less to actually provide tutorials in a way that anyone could follow them, even the most inexperienced. 

The following website has some wonderful patterns that are fully explained with photographs, as well as with videos, which makes them perfect patterns for beginners.


This website also has other crafty ideas which would be fun to make. I hope, should you take advantage of these patterns and either sew, knit or crochet something, you will share photos of what you make and give credit to Bankky!

Sunday

Something Different

Well I haven't really been in the mood for dolls this past week or so, you could say I have been suffering from the winter blues. As usual for this time of year, I have been hibernating in front of the fire, knitting. Not for my dolls though, this time I made myself some beanies to keep my ears warm when hubby and I walk our dog. This I found, was a good item on which to use up some of my left over yarns.


It was during this time I noticed my knitting needle roll needed some attention. There were more knitting needles and very little space in some sections of the roll to fit them. So it was time to make another and here it is, my own guide to making one. (Left click on photos to see more details).

REQUIREMENTS:
2 x 64cm pieces of 112cm wide fabric. (1 pce plain for inner, 1 pce print for outer.)
2mtrs of 25mm wide satin ribbon.
Ruler and a washout fabric marker pen or pencil.
A permanent fine marker pen.
Matching thread for sewing.
Sewing machine and overlocker (serger).
Iron and ironing board.


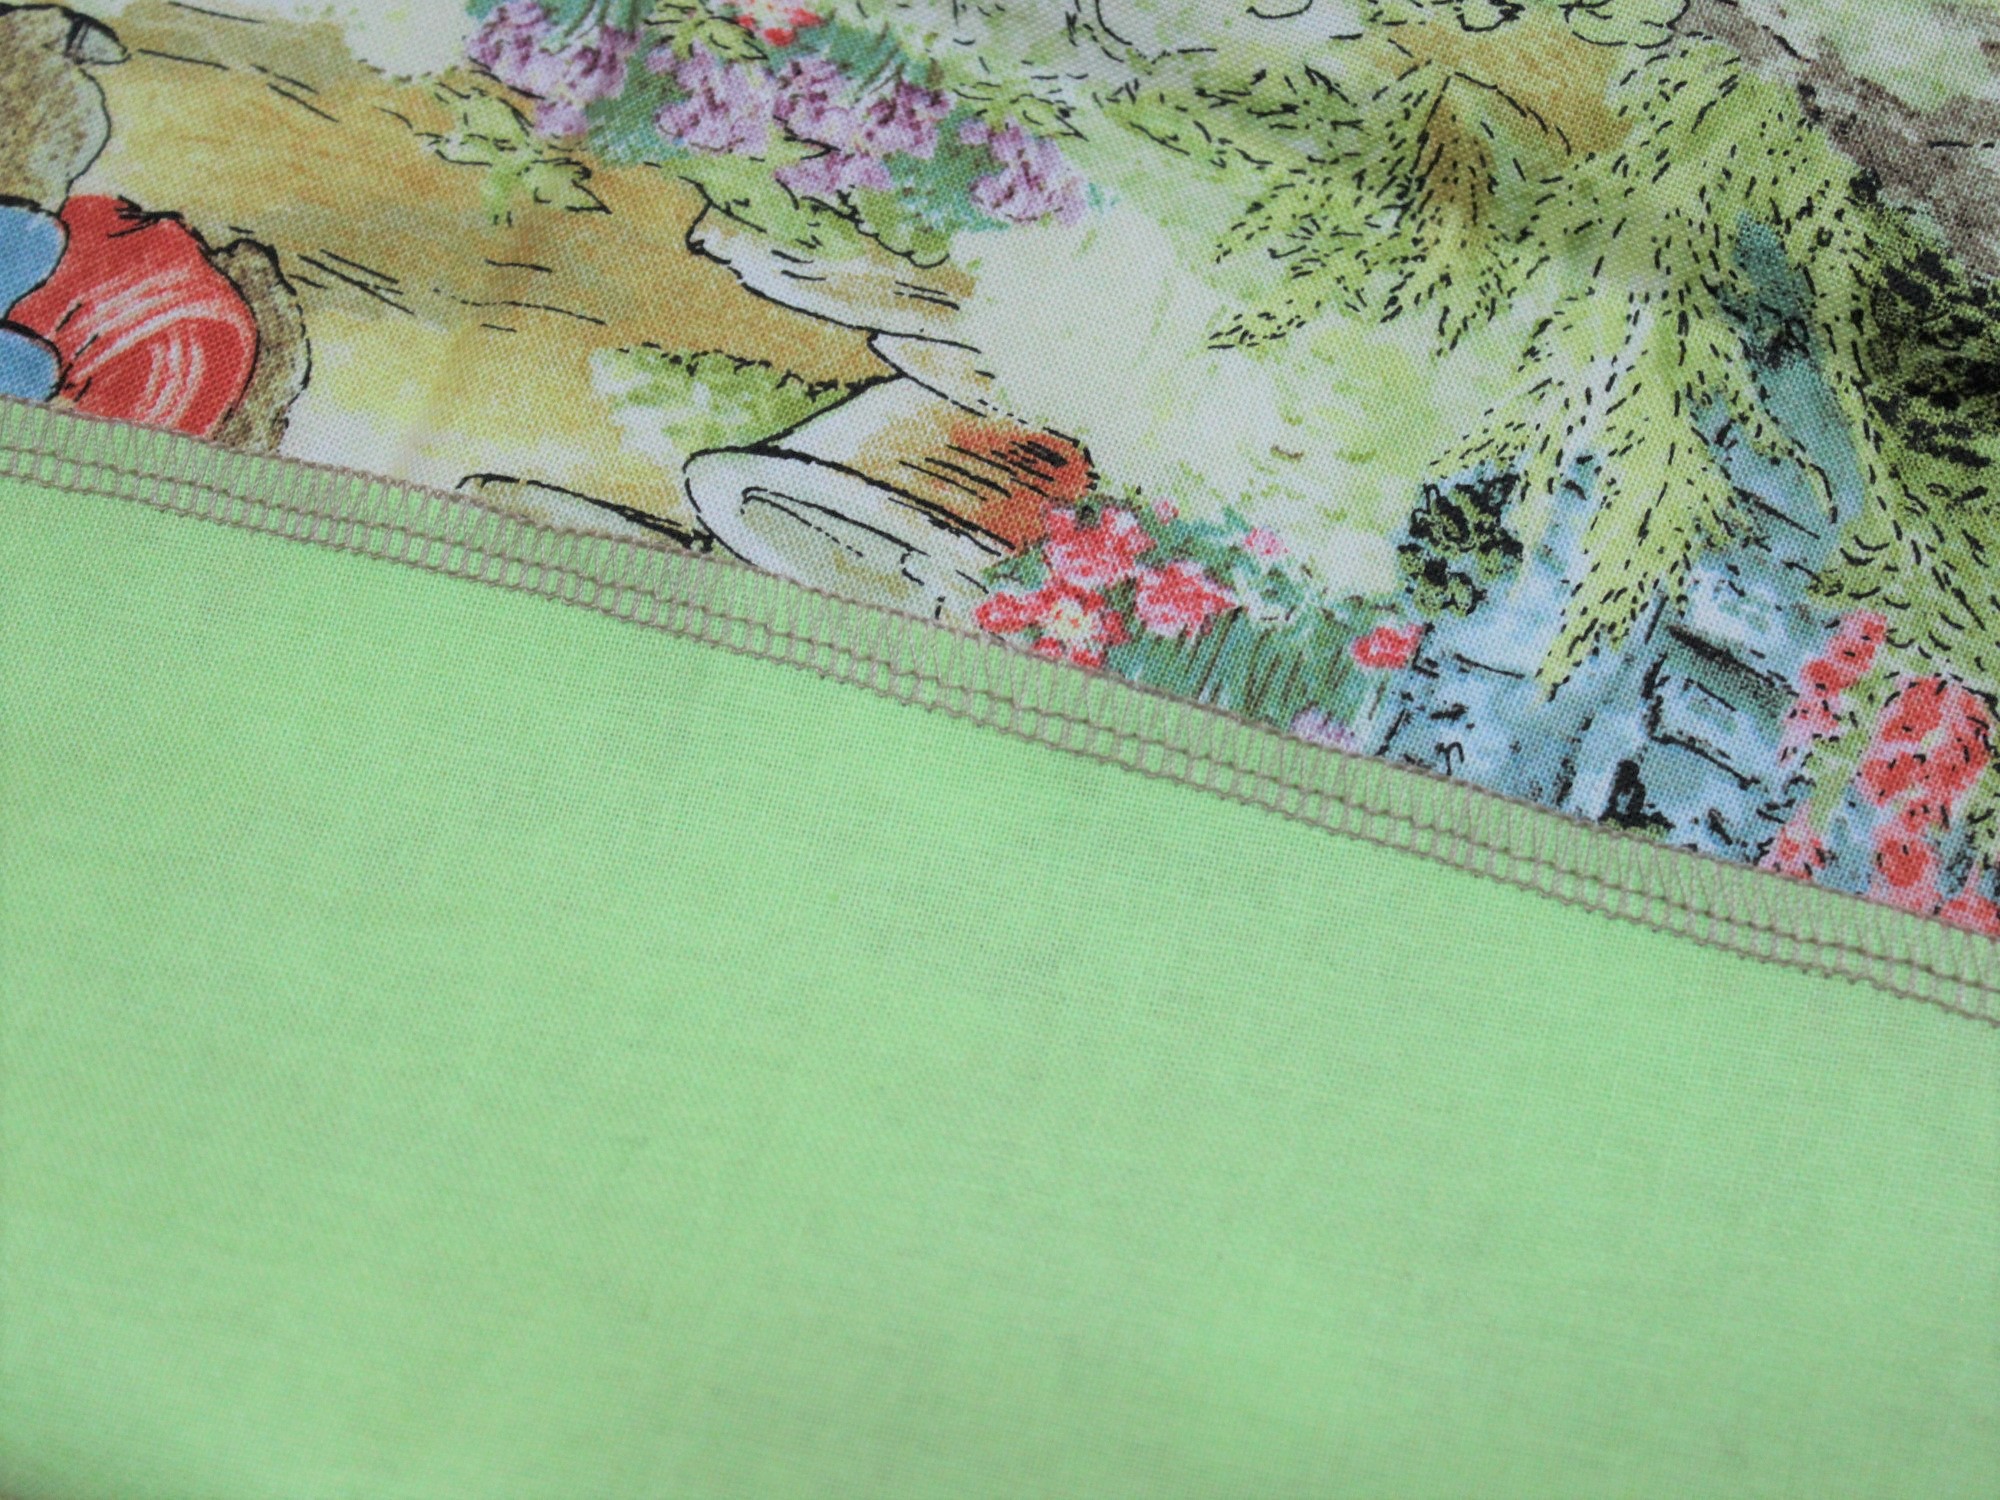
Step 1: Place the two pieces of fabric on top of each other and use your sewing machine to sew along the top and bottom. I used my overlocker (serger), but if you don't have one, use your machine's zig zag or button hole stitch to sew along the edge.


Step 2: Fold the two shorter selvedge ends over 2cm and press flat, then stitch down.


Step 3: Fold the bottom long edge over 2cm and press flat, then stitch down. Do the same with the top edge.


Step 4: Fold the top long edge over 7cm, then press flat before stitching the sides to form a pouch.


Step 5: Fold the bottom long edge over 13cm, then press flat before stitching the sides as you did in step 4. (Finished height should measure 40cm).


Step 6: Cut 35cm of ribbon and place on the left hand side half way between the top and bottom fold overs, using the remainder of the ribbon place it across the fabric, so that the extra length extends in the same direction as the shorter piece.


Step 7: Stitch both sides, so the ribbons are held in place.


Step 8: Rule lines with your washout pen, from the ribbon down to the bottom, after making sure there is enough space to hold each group of needles. (i.e. if you have several sets of a particular size in different lengths, or wish to include a crochet hook of the same size, do a dry run to check the amount of space needed for each size).

Step 9: Stitch along each ruled line creating an individual pouch for each group of needles.


Step 10: Using the permanent fine marker pen, mark each pouch with the size of the needle. (i.e. I have marked mine with both the mm size and a corresponding UK size using the conversion chart below).


The finished size of your roll should hold a good amount of needles, mine range from 1.25mm through to 7.5mm, some of which have different lengths or four double ended needles in each group. When all your needles are in place, simply fold the top flap down, roll it up, tie the ribbon around it and finish with a bow.


That's all folks! Until next time, stay safe and keep smiling!


Tuesday

Sew What?

I love the cloche hats I ordered from Janette, they are just gorgeous and so well made! However, when I put them on my girls I felt the outfits they were currently wearing didn't quite do the hats justice.

These dresses, which featured in a 1920's Perry, Dame & Co. catalogue, are probably more in keeping with the the style of the hat. Could they be the answer to my dilemma?


Maybe they are more suitable for girls slightly older than that of the Fashion Friends. Perhaps I should look at the younger children's styles for inspiration?


Actually seeing them now, both on the same "page", there's not really a lot of difference between the younger and older girls styles.


These samples from The Delineator October 1922, could just be the shot too! I love the coat on the top right.

So what do you think, should I give it a go and try to make something similar for my girls? Which one would you choose if you had to make one your own doll?

Maybe I'll just knit something instead. Until next time, keep on dolling!


Thursday

Reminiscing

Going through my old photos recently, I came across these photos of my "Silver Screen" series of whimsical bears. At the time (long ago, in another creative world ) I fully intended to design and sew a couple more . . . I had even done rough sketches and selected the fabrics. But, as is often the case, circumstances led me down another path and so they were put aside.


All three were purchased by a collector in Florida.

I never did finish Zsa Zsa Gabear and Carmen Bearanda . . . maybe one day I'll be compelled to conjure up these two colourful critters.

“You don't know what can happen tomorrow. Life is like a novel, isn't it? It's filled with suspense. You never know what's going to happen until you turn the page.”  Sidney Sheldon